
Rabbeting
There are several methods for making a rabbet. As I'm in possession of a rabbeting plane, I guess my choice is obvious.But if you haven't such a plane you can do it easily with a chisel.
First I layout the lines with a pencil, so I have a visual reference.
 |
| Layout for the rabbets |
These "Hello Kitty" pencils are really magic. More on that in a future post.
If I'm sure about it, I'll scribe the lines with a marking gauge.
 |
| Scribed layout line |
I set the plane into these lines and the adjust the fence to the needed width.
 |
| Rabbet plane nicker |
 |
| Final rabbet |
Top and Bottom Fitting
After the four rabbets are done it's time to cut the top an bottom to final length and to square the ends.A three steps process:
- Shooting one end square
- Mark out the final length to the other end
- Trim the board to length while shooting the second end
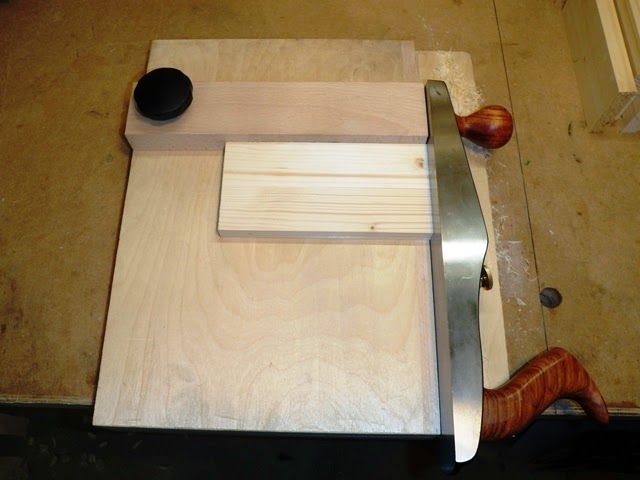 |
| Shooting one edge square |
 |
| Making a nick |
Dry Fit
As all boards are to final length and the rabbets are established, it is time for a dry fit. |
| Dry fit |
Grooving
During the dry fit I recognized that I missed something. Before joining the boards together it would be a very great idea to make some grooves for the back panel.That said, off we go.
Before I'm doing grooves usually I lay them out. In this case I set up my dual marking gauge and scribe the lines.
 |
| Groove layout lines |
My back panel will be some pine plywood with 4 mm thickness.
So I install the 4 mm iron into my grooving plane and start to groove the boards.
 |
| Grooves for the back panel |
Dry Fit
Ones again I have done a dry fit.
 |
| Dry fit w. back panel |
Next Time
As the case is complete now (including the back panel), it's time to care about the dowel joints and the dado for the drawer top shelf.I'm still on the development of this blog and I hope that it will evolve during the next posts.
But my first decision is to post the main entry every Wednesday from now on.
I would be glad to receive your comments, opinions, questions, proposal, etc.
So, stay tuned.
Stefan
No comments:
Post a Comment